윈도XP 포맷(Format) 시작하기! (세번째 단계)
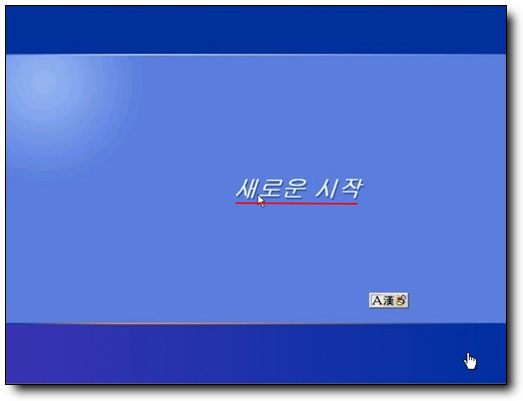
재부팅이 된후 다음과 같은 화면이 뜹니다.
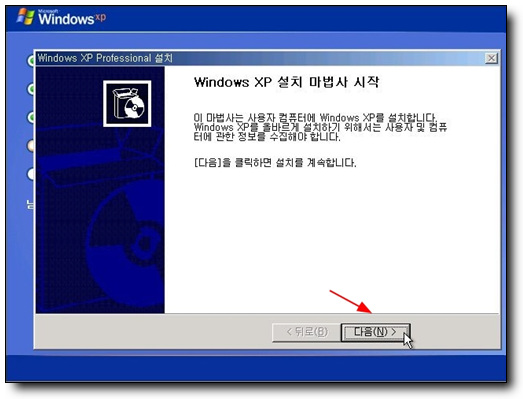
12. '다음' 클릭
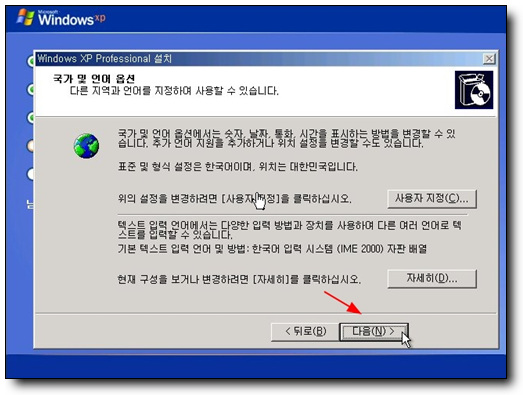
13. '다음' 클릭~
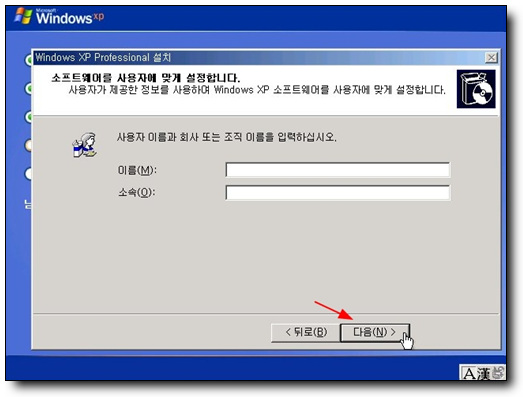
14. 그냥 '다음' 누르에요~
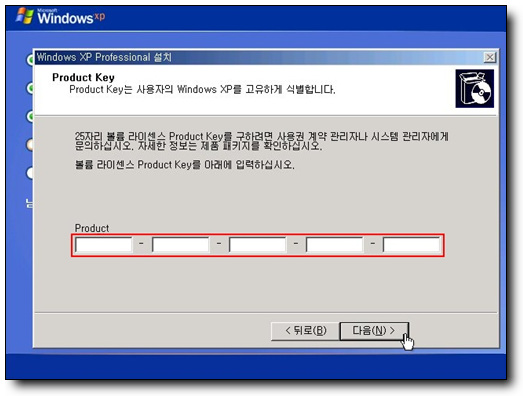
15. 시리얼 넘버를 입력하세요~
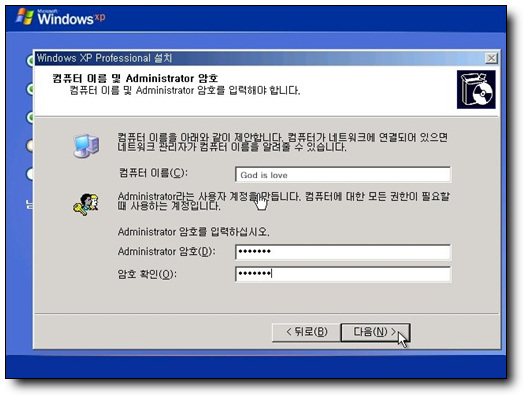
16. 그냥 '다음' 클릭하세요!
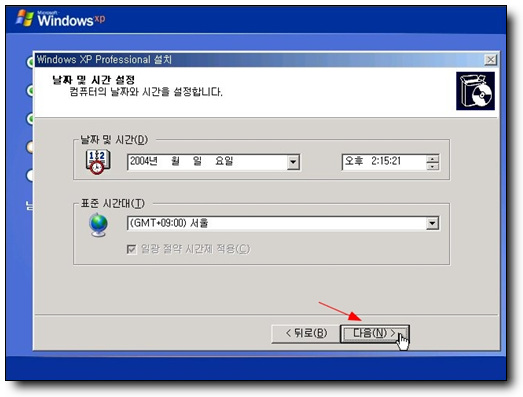
17. '다음' 클릭요~
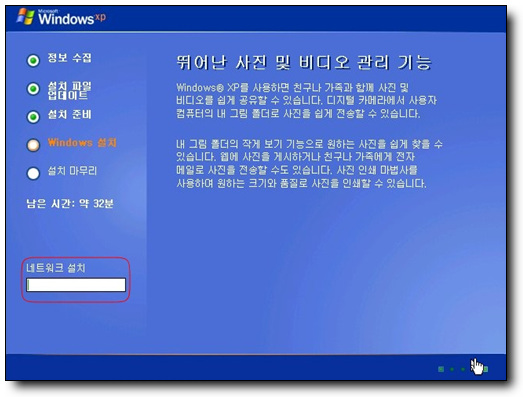
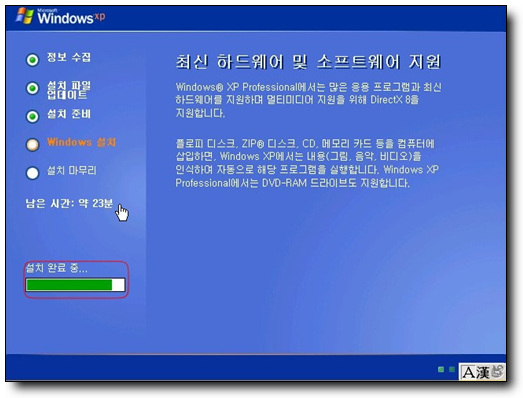
18. 시간이 좀 걸리니, 라면하나 끓여드시면서 느긋하게 기다리세요~
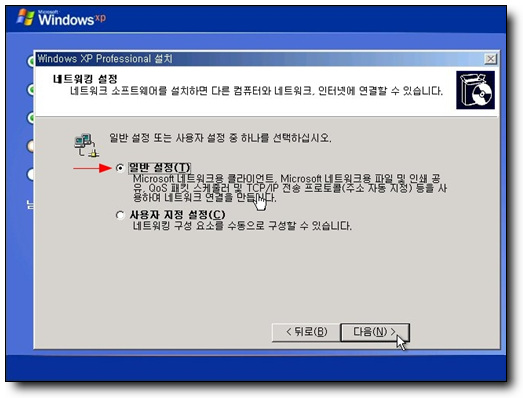
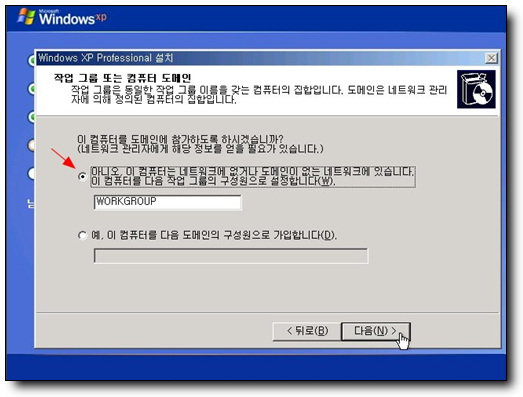
19. '일반설정'에 체크하시고 '다음' 클릭~
20. 위 화살표부분에 체크하시고 '다음'클릭~
21.기다리세요~
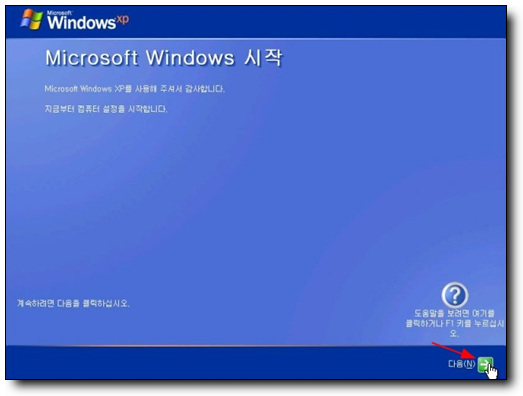
22. 윈도우즈xp가 시작됩니다!
22. '다음' 클릭!
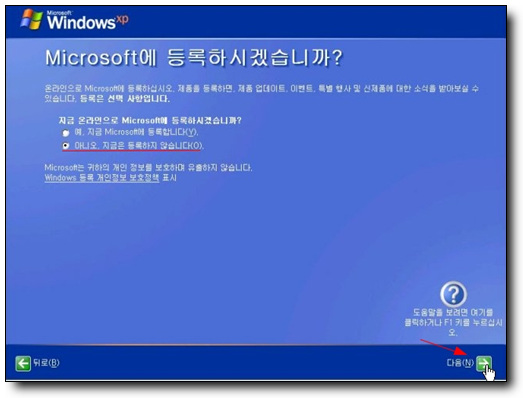
23. 건너뛰시는게 좋습니다.
25. 우선은 '아니오, 지금은 등록하지 않습니다' 선택, '다음' 클릭~
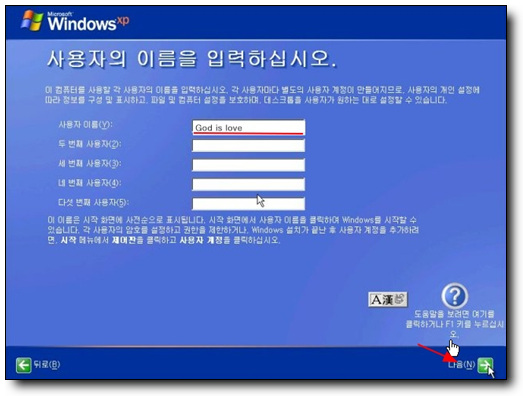
26. 생략하고 '다음' 클릭하셔도 상관 없어요~
(컴퓨터를 여럿이 사용한다면 각각의 사용자를 적어두면 윈도시작시 사용자 선택화면이 뜹니다)
27. '다음' 클릭~
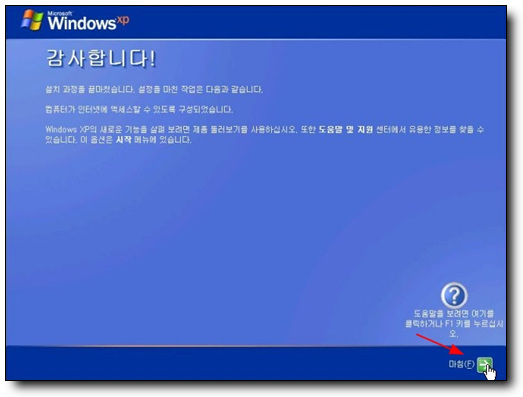
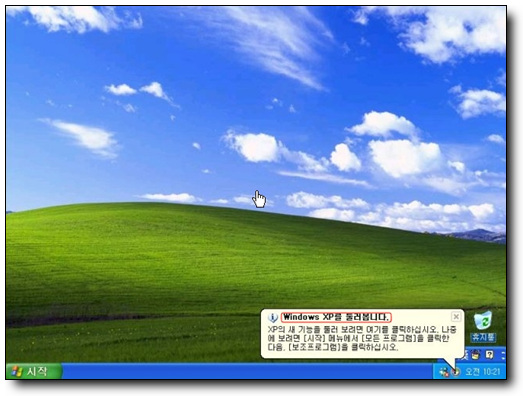
28. 드뎌~ 윈도XP 시작!
29. 기본적 XP설치는 끝났고 화면 설정과
특히 사운드 드라이버가 잘 작동하는지 확인합니다.
수고많으셨습니다!
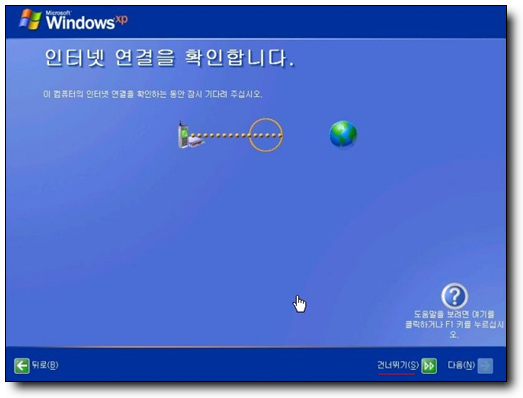
포맷이 끝나면 샤방한~ 'Windows XP 설치 마법사' 화면이 뜹니다!
재부팅이 된후 다음과 같은 화면이 뜹니다.
12. '다음' 클릭
13. '다음' 클릭~
14. 그냥 '다음' 누르에요~
15. 시리얼 넘버를 입력하세요~
16. 그냥 '다음' 클릭하세요!
17. '다음' 클릭요~
18. 시간이 좀 걸리니, 라면하나 끓여드시면서 느긋하게 기다리세요~
19. '일반설정'에 체크하시고 '다음' 클릭~
20. 위 화살표부분에 체크하시고 '다음'클릭~
21.기다리세요~
22. 윈도우즈xp가 시작됩니다!
22. '다음' 클릭!
23. 건너뛰시는게 좋습니다.
25. 우선은 '아니오, 지금은 등록하지 않습니다' 선택, '다음' 클릭~
26. 생략하고 '다음' 클릭하셔도 상관 없어요~
(컴퓨터를 여럿이 사용한다면 각각의 사용자를 적어두면 윈도시작시 사용자 선택화면이 뜹니다)
27. '다음' 클릭~
28. 드뎌~ 윈도XP 시작!
29. 기본적 XP설치는 끝났고 화면 설정과
특히 사운드 드라이버가 잘 작동하는지 확인합니다.
수고많으셨습니다!


